Se afișează postările cu eticheta dvd. Afișați toate postările

duminică, 19 decembrie 2010

Create home DVDs using Windows 7’s DVD Maker

Windows 7 by default comes with a DVD Maker software.  Home users will particularly like this tool since it lets them burn DVD movies using their own media like home made videos and digital photos.
The quickest way to make a DVD is to add pictures and videos in Windows DVD Maker, and then burn to a blank DVD. If you want to get creative, you can customize the DVD menu style and text before you burn the DVD.
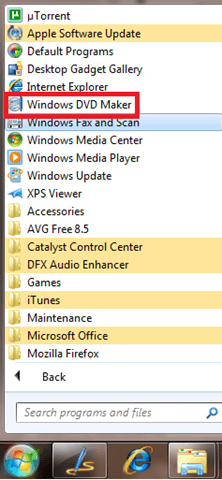
To open DVD Maker, click the Start button and choose Windows DVD Maker:
image
The interface is Wizard-based and targets novice home users.  Advanced users might prefer a more complete software like Nero, but for simple DVD making needs, this one will do just fine.
image
You can add WMV movies to it (no support for AVI or MP4 which sucks!) and also pictures.  If you add a bunch of pictures they will appear as a slideshow folder.
image
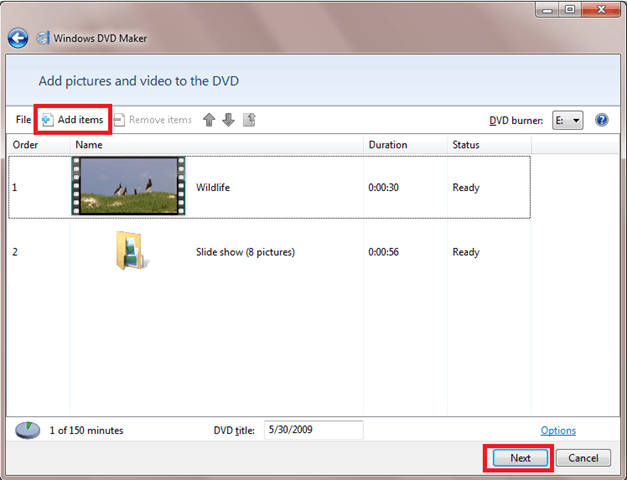
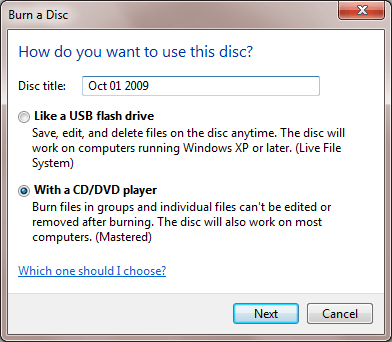
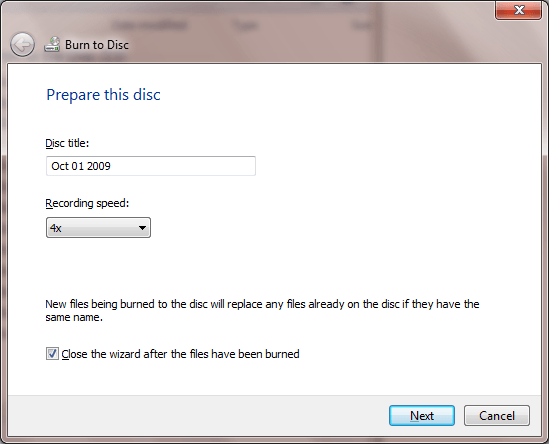
You can see the amount of time remaining on your DVD project so you know how much space is still left.  You can also enter your own DVD title which by default contains the date when you open the program.
image
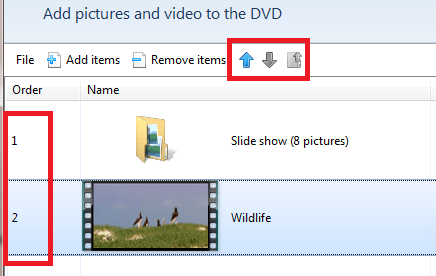
You can change the order of the media files that you enter using the up and down arrows.
image
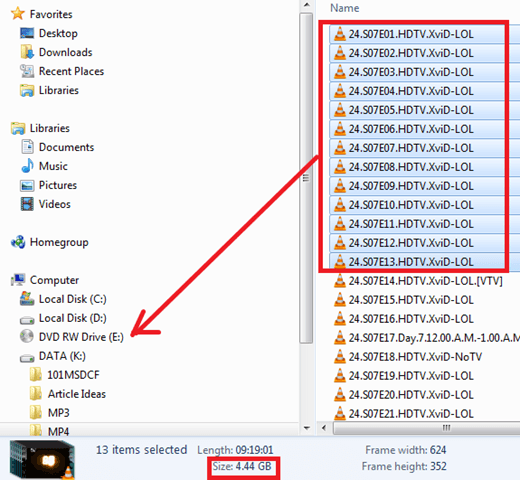
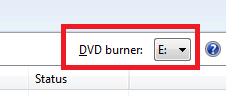
You can also change the drive where you have a DVD burner.  It automatically detects the right drive even if you have more than one DVD drive.
image
The next window will let you preview your work before burning it.  You can change the menu styles and menu text.
image
image
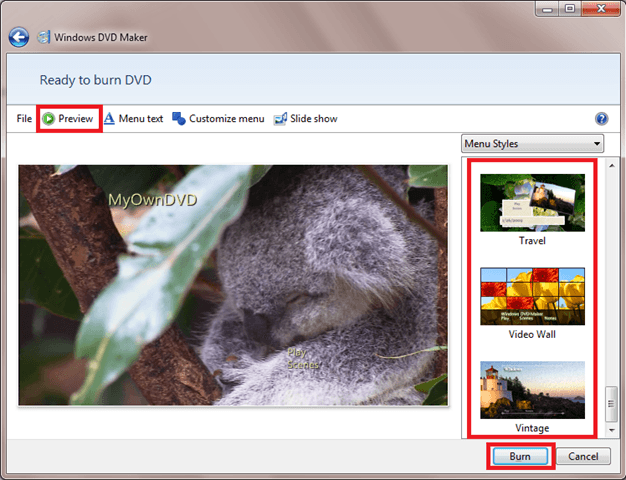
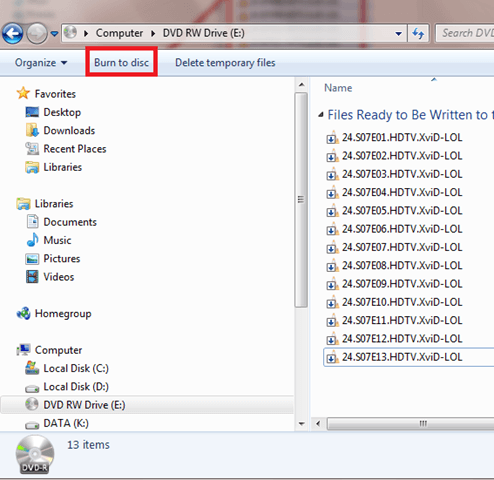
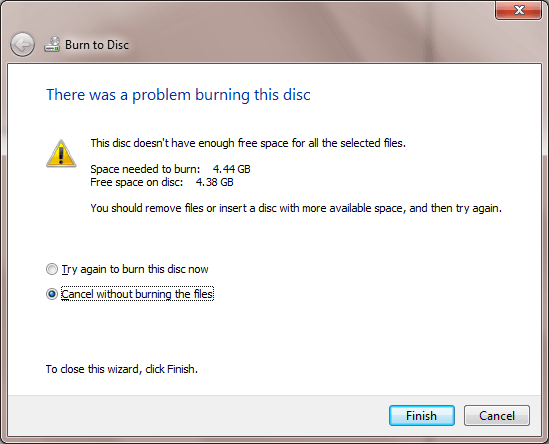
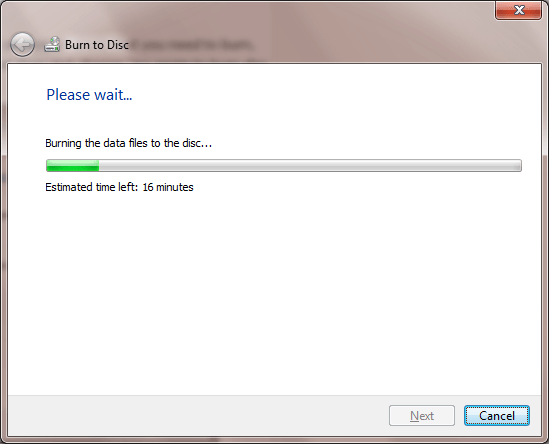
After finalizing the menu text and previewing the DVD movie, click the Burn button to start burning the disc.
The software only provides basic DVD making capabilities.  If you want to do more advanced tasks like cropping or color correction, you may want to look for more higher end tools like Adobe Premier or Nero (which unfortunately is not yet working on Windows 7 as of this writing).
It also is poor when it comes to supported formats so you may need to convert your video files to WMV first before you can burn them.

sâmbătă, 18 decembrie 2010

Burn CD/DVD/BR with Windows7

Windows 7 comes with it’s own Explorer integrated CD/DVD burner.  We have shown you before how to create DVD movies using Windows 7 movie maker, but this time we will look at it’s capability to burn generic files.  Creating data discs in Windows 7 is very intuitive.
Pop-in a blank DVD or CD and it will automatically prompt you with the “burn a disc” window.  The default disc title appears as the current date and you will have two options to choose from – like a USB flash drive or with a CD/DVD player.
image
The “like a USB flash drive” option is the live file system format and is often more convenient because you can copy selected files immediately and as often as you want, just like you can with a USB stick. Alternatively, Live File System discs can’t be used in all computers or in all CD, DVD, or Blu-ray Disc player.
image
The “with a CD/DVD player” option is the master burning type which is more compatible with other computers and consumer electronic devices, such as CD players, DVD players, and Blu-ray Disc players. Choose which option is suitable for your need then click next.
To start adding files to the disc, drag the files and folders to the drive.  I usually watch the size of the files I am dragging to the disc to avoid “not enough space” problems during the actual burning process.  If your files are more than 700 MB and less than 4.7GB, get a blank DVD disc.  If you need to burn files more than 4.7Gb, you might need to get a Blu-ray disc which supports up to 50GB of total size.
image
A balloon reminder will show that you have a bunch of files waiting to be burned to a disc.  Click this balloon or the disc drive to begin the burning process.
image
Click the Burn to disc button to start burning.
image
It will prompt for the disc title and recording speed – I usually set the recording speed to the lowest speed to ensure the maximum quality of the burned data.
image
If your disc’s capacity is less than the total amount of space that you need to burn, delete a file or files to meet the capacity limit then click choose “try again to burn disc now”:
image
It will then start to burn the disc.  Do not eject the disc or turn off your computer while this is ongoing, otherwise you will corrupt the burning process.  In my Samsung drive, it takes about 18 minutes to burn a DVD-R in 4X speed.
image
I hope this guide helps you burn data discs easily in Windows 7.  It is not as robust as the commercial disc burning apps like Nero Burning ROM but for quick and basic disc burning, this does the job well.
Best Web Directory